

Your script is written. Your voiceover is recorded. Now you need a finished video in 90 minutes, not nine hours in Adobe Premiere.
This is where most teams fail. They know about AI writing tools. They’ve heard of text-to-speech. But they don’t have a pipeline that moves smoothly from one tool to the next without manual intervention, format conversion, and re-encoding.
I built a video pipeline at AlgoVesta that processes algorithmic trading explainers from raw scripts to final exports. The same approach works for SaaS onboarding videos, product demos, educational content — anything with a clear narrative structure.
The Problem With Stitching Tools Together
Most AI video tools are good at one thing: generating avatars, creating scenes, producing voiceovers, or editing. Pick one, and you’re locked into its limitations for the next tool in the chain.
Example: HeyGen generates video with AI avatars, but if your script needs dynamic visual elements (charts, code snippets, product UI), you’re exporting and bringing it into a second tool. Now you’re managing file formats, frame rates, and audio sync problems across platforms.
The workflows that actually work treat the video pipeline like a data flow, not a collection of separate applications. Script in, finished video out. Three to four tools max, with clear handoff points.
The Core Stack: Script → Voice → Video → Polish
Stage 1: Script Generation and Refinement (Claude or GPT-4o)
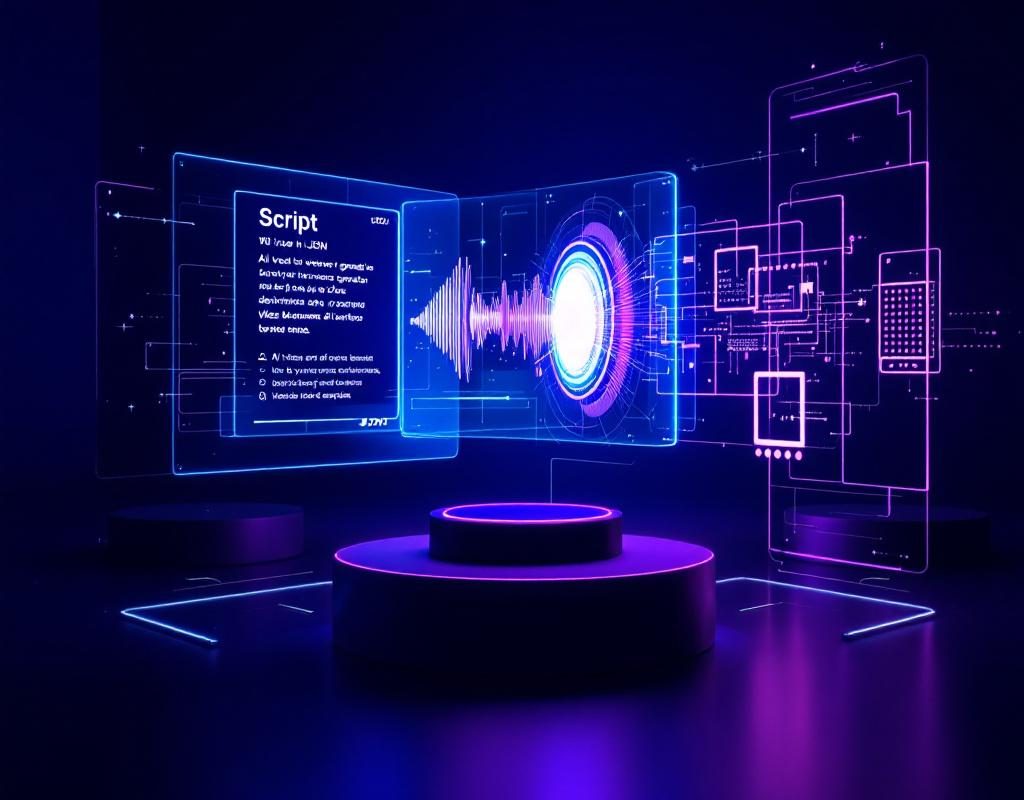
Start with a structured prompt that forces the model to output a script in a format you can parse programmatically. Don’t ask for “a good script.” Specify timing, visual cues, and pacing markers.
You are a video script writer for SaaS product explainers.
Your output must be valid JSON with this structure:
{
  "scenes": [
    {
      "duration_seconds": 5,
      "voiceover": "Exact words the narrator will speak",
      "visual": "Description of what appears on screen",
      "visual_type": "avatar|text|screenshot|chart"
    }
  ]
}

Write a 60-second explainer for a new email validation API.
Focus on the problem it solves, not feature lists.
Each scene should be 4–7 seconds.
This structure — not free-form prose — becomes your source of truth. Every downstream tool consumes this JSON. No manual script rewrites between tools.
Stage 2: Voiceover Generation (ElevenLabs or Google Gemini Audio)
Once the script is structured, generate audio separately. ElevenLabs handles natural-sounding voices with fine-grained duration control. Google’s Gemini audio model is faster and cheaper for longer content but less customizable.
For production work, use ElevenLabs with API integration. Feed it the voiceover text from your JSON script, set voice ID and speed, and get audio files that sync to your specified scene duration (with a 10–15% margin for tightness adjustments).
Cost: roughly $2–5 per finished video minute, depending on voice model and volume tier.
Stage 3: Video Synthesis (HeyGen or Synthesia for avatars; D-ID for face animation)
This is where most people make their first mistake: they choose based on avatar quality alone, ignoring API reliability and format output.
HeyGen works well for simple avatar + slides workflows. Upload a presentation, bind it to an avatar, sync with audio. Output is MP4 at your chosen resolution. The bottleneck: it’s slow (5–10 minutes per video), and the avatar blinking/movement can feel off if you’re not careful with pacing.
Synthesia is faster and better at complex scenes with multiple avatars and text overlays. It also handles custom branding and scene templates. The trade-off: less flexibility if you need pixel-level design control.
D-ID is different — it animates a static image or photograph to talk. Useful if you want a founder’s face or custom imagery. Output quality is high, but setup is slower.
For a repeatable workflow, use the tool that has the most predictable API behavior and output format. Synthesia’s API is reliable; HeyGen’s is functional but sometimes returns videos that need re-encoding.
Stage 4: Post-Production and Polishing (CapCut or Adobe Premiere with AI features)
By stage 4, 80% of your work is done. You have video and audio. What remains is:
- Auto-generated subtitles (both platforms handle this via AI now)
- Intro/outro branding clips
- Color correction if multiple video sources are blended
- Final audio level adjustment
CapCut’s free tier handles all of this and has improved auto-caption AI. If you’re doing 3–5 videos per month, it’s enough. If you’re doing daily content, Adobe Premiere’s batch processing saves time despite the subscription cost.
Where This Actually Breaks (And How to Fix It)
Sync issues between voiceover and video are the most common failure point. Audio is 60 seconds, but the video synthesis tool produced a 57-second output because it underestimated scene timing.
Fix: Always generate voiceover with 5–10% extra time built in. Adjust the synthesis tool’s pacing or speed-up the final video render to 1.05x if needed. It’s imperceptible to viewers and keeps audio-video sync tight.
The second failure: choosing tools based on visual quality alone, not API reliability. A beautiful avatar that’s unreliable in production costs you 4 hours of troubleshooting per month. A serviceable avatar with 99.5% uptime saves you 48 hours per year.
Your Action Today
Pick one existing video you want to remake. Write a structured JSON script for it using the format above. Generate that JSON using Claude Sonnet or GPT-4o and validate it parses correctly. That’s your foundation — the structure that ties every other tool together. Don’t move to voiceover generation or synthesis until this is locked.